
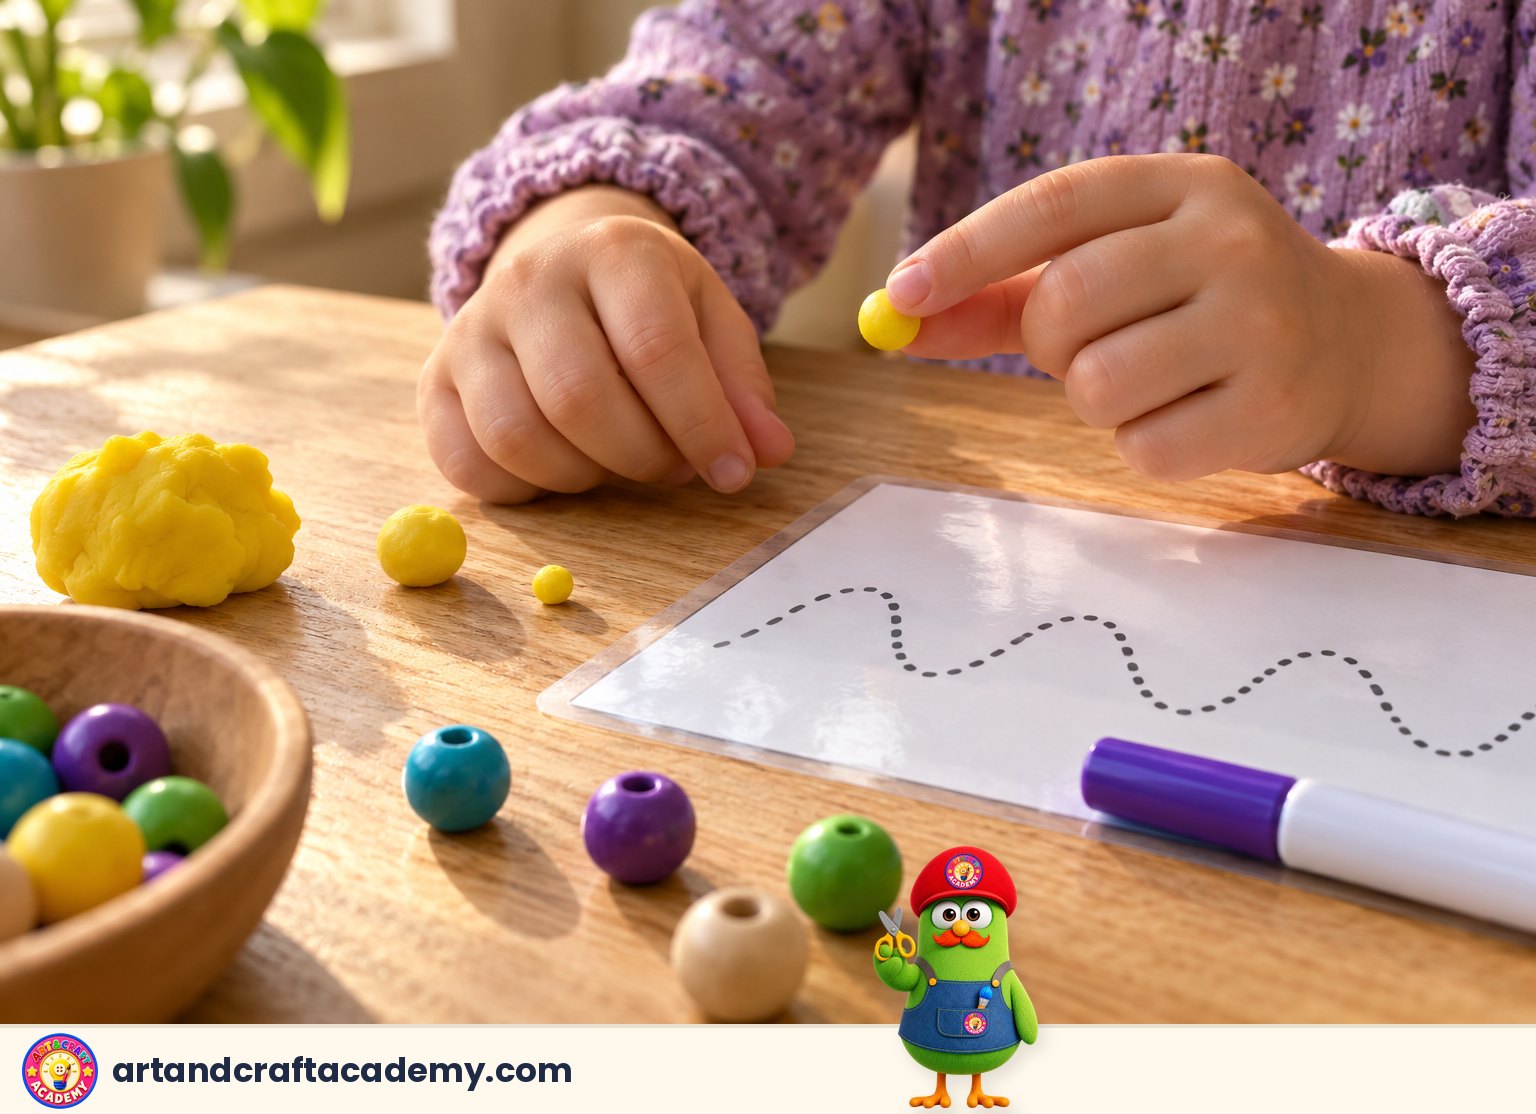
The short answer: we don’t start with letters. Before a child can write, they need a strong hand, fingers that move with control, and eyes that guide the hand. These are “pre-writing skills”, and we build them through play: play dough, beads, cutting, drawing on the wall, and then tracing lines and shapes in the right order. In this guide you’ll find what to expect at each age, 10 easy activities to do at home, and when it’s worth talking to a specialist.
What are pre-writing skills?
They are the skills a child needs before picking up a pencil to write a letter. The most important ones are:
- Shoulder and core strength: a child who can’t sit upright gets tired quickly when writing.
- Hand and finger strength: to press the pencil without the hand tiring after two minutes.
- Pencil grasp: it develops with age, from a whole-fist grip to three fingers.
- Visual-motor coordination: the eyes lead the hand, so the child can draw what they see.
- Drawing basic lines and shapes: vertical and horizontal lines, the circle, the cross, the square… every letter is built from them.
- Using both hands together: one hand writes, the other holds the paper.
What to expect at each age
Children learn to draw shapes in a fairly fixed order. The table below shows the age at which most children can copy a shape after seeing it drawn. Remember that every child develops at their own pace, and a few months either way is perfectly normal.
| Shape | Approximate age |
|---|---|
| Vertical line ( | ) | 3 years |
| Horizontal line ( — ) | 3 years |
| Circle ( ○ ) | 3 years |
| Cross ( + ) | 4 years |
| Square ( □ ) | 4 years |
| Diagonal lines ( / \ ) | 4½ years |
| X ( X ) | 5 years |
| Triangle ( △ ) | 5 years |
Why does this order matter? Because most letters need diagonal lines and curves. If we ask a child who hasn’t mastered the circle to write a letter, they’ll struggle and feel frustrated. We start with the shape that suits their age and move forward step by step.
How pencil grasp develops
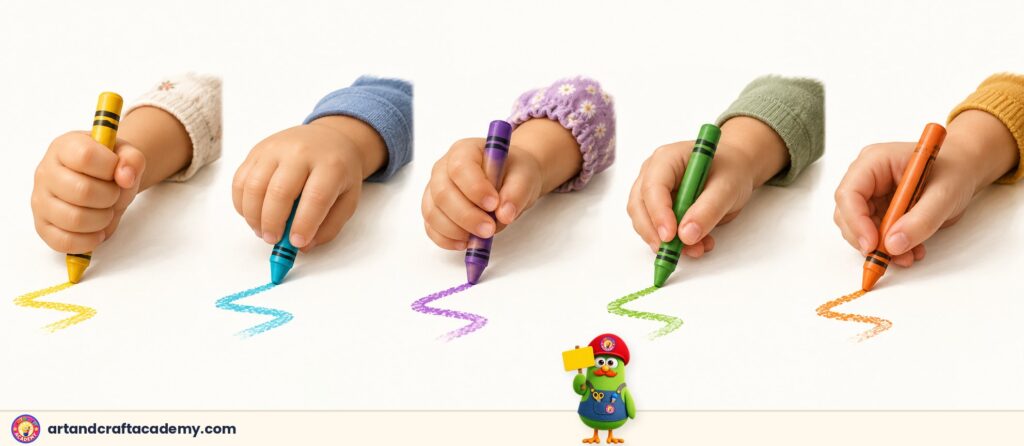
- 1 to 2 years, fist grip: the child holds the crayon in the whole hand and scribbles by moving the whole arm.
- 2 to 3 years, all fingers: all fingers on the crayon, palm facing down, movement from the elbow.
- 3 to 4 years, four fingers: movement starts to come from the wrist.
- 4 to 6 years, three fingers: thumb, index and middle finger work together.
- Mature grasp: the fingertips alone move with precision. Most children master it between 6 and 7 years.
An important tip: don’t force the three-finger grip before your child’s hand muscles are ready. An awkward grip learned too early becomes a habit that’s hard to change later. It’s better to strengthen the hand through play, and the right grip will follow on its own.
10 home activities to strengthen your child’s hand
Each activity takes 5 to 15 minutes, and one or two a day is plenty.
1. Tiny play dough balls (from 3 years)
Your child rolls small balls, about the size of a chickpea, between the tips of the thumb and index finger, then turns them into “grapes” or “eyes” for a little monster. Builds: fingertip strength and a precise pinch.
2. Threading beads (from 3 years)
Start with big beads and a thick string, or pasta on a string, then gradually make them smaller. Builds: visual-motor coordination and using both hands together.
3. Clothespins (from 3 years)
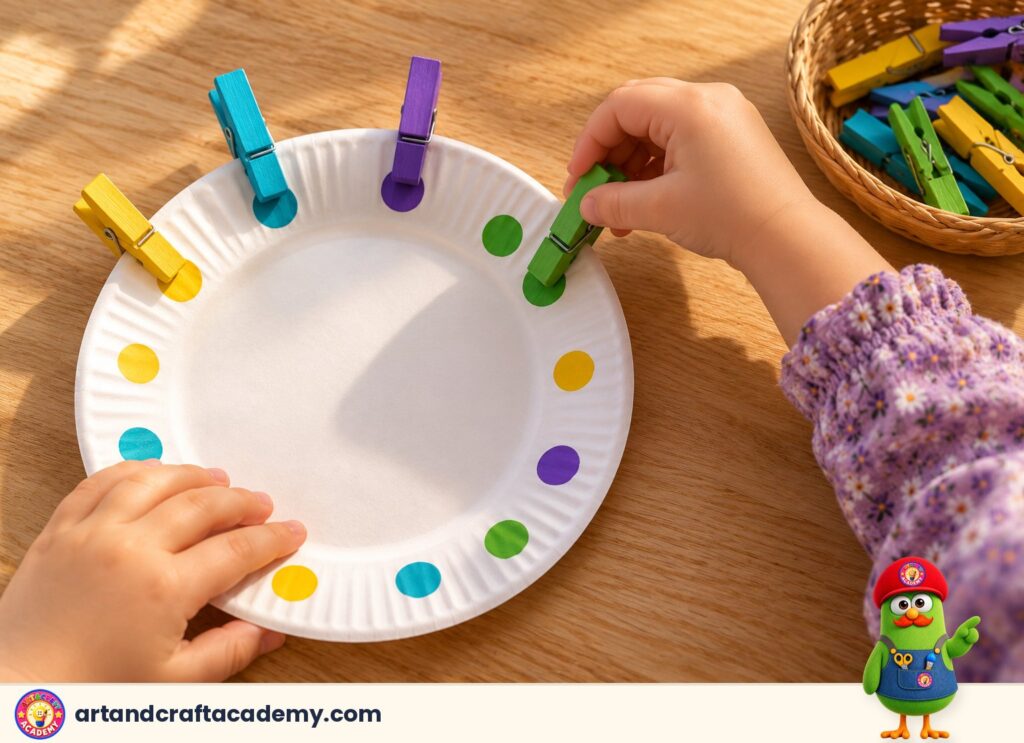
Your child clips clothespins onto the edge of a box or a paper plate, matching their colours to coloured dots. Builds: strength in the thumb and index finger, the two fingers that hold the pencil.
4. Torn-paper mosaic (from 3 years)
Your child tears coloured paper into small pieces with their fingers, then glues them inside a simple drawing. Builds: two-handed work and finger strength.
5. Cutting along lines with safety scissors (from 4 years)
Start with wide straight strips, then zigzag lines, then circles. Use children’s scissors with rounded tips, and always with an adult nearby. Builds: opening and closing the hand, and movement control.
6. Drawing on a vertical surface (from 2 years)
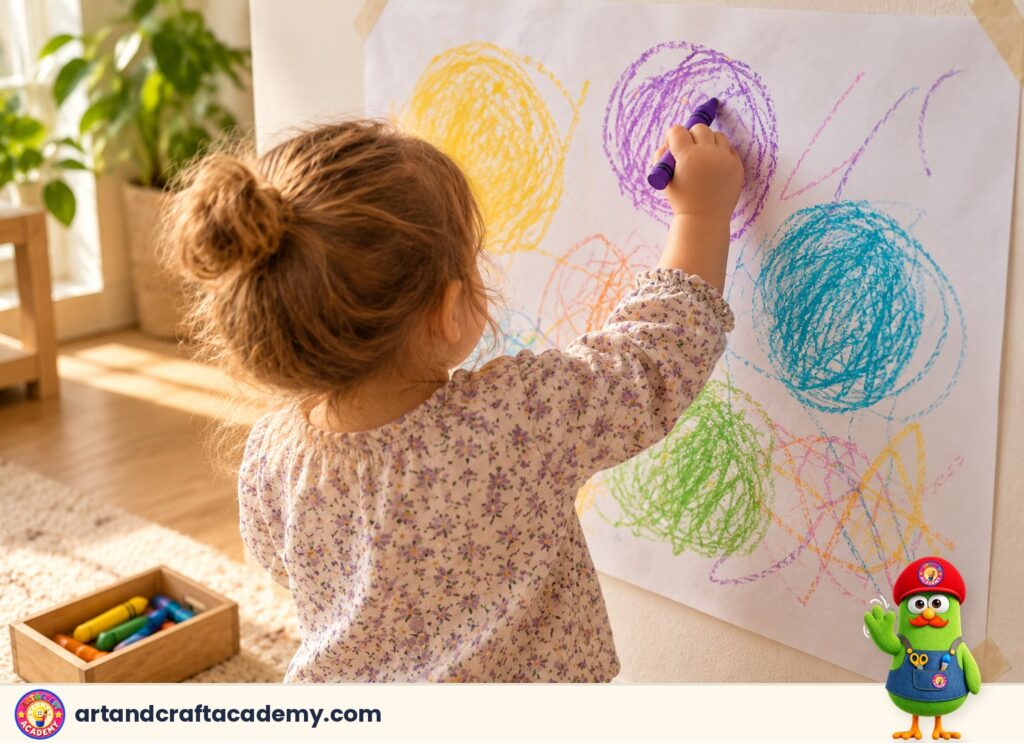
Tape a large sheet of paper to a wall or door and let your child draw standing up. The wrist position this creates supports a good grip and strengthens the shoulder. Builds: shoulder and wrist.
7. Sand or flour tray (from 3 years)
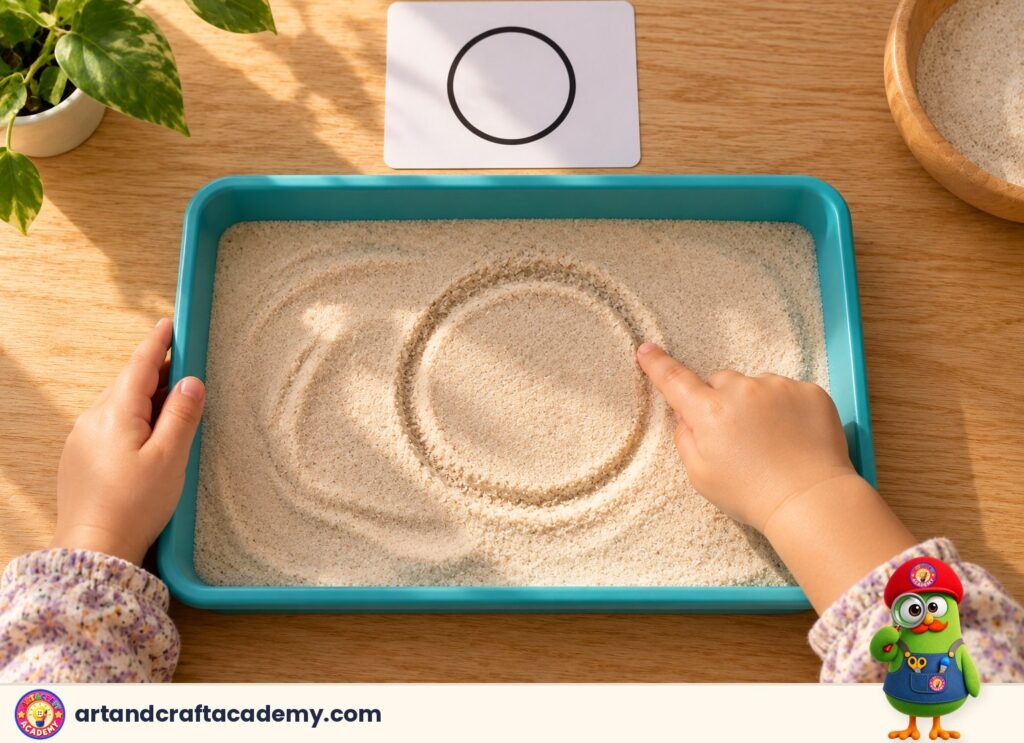
Spread a thin layer of sand or flour in a tray, draw a shape on a card in front of your child, and let them copy it with a finger, then wipe it away and try again. Builds: drawing shapes without fear of mistakes.
8. Fuse beads with tweezers (from 5 years)
Your child picks up beads with small tweezers and places them on the pegboard following a simple pattern. Builds: precision, planning and finger strength. (Ironing is for adults only.)
9. Paper folding, simple origami (from 4 years)
Start with a single fold to make a “card”, then a fan, then a shape with two or three steps. Builds: precise finger pressure and following steps.
10. Spray bottle (from 3 years)
Your child waters the plants, or “erases” chalk drawings on the floor tiles with a spray bottle. Builds: the hand muscles that stabilise the pencil.
From lines to letters: tracing practice in the right order
- Big before small: start with a finger in the air or in sand, then chalk on a board, then a pencil on paper.
- In order: vertical line, then horizontal, circle, cross, square, diagonal, X, and triangle.
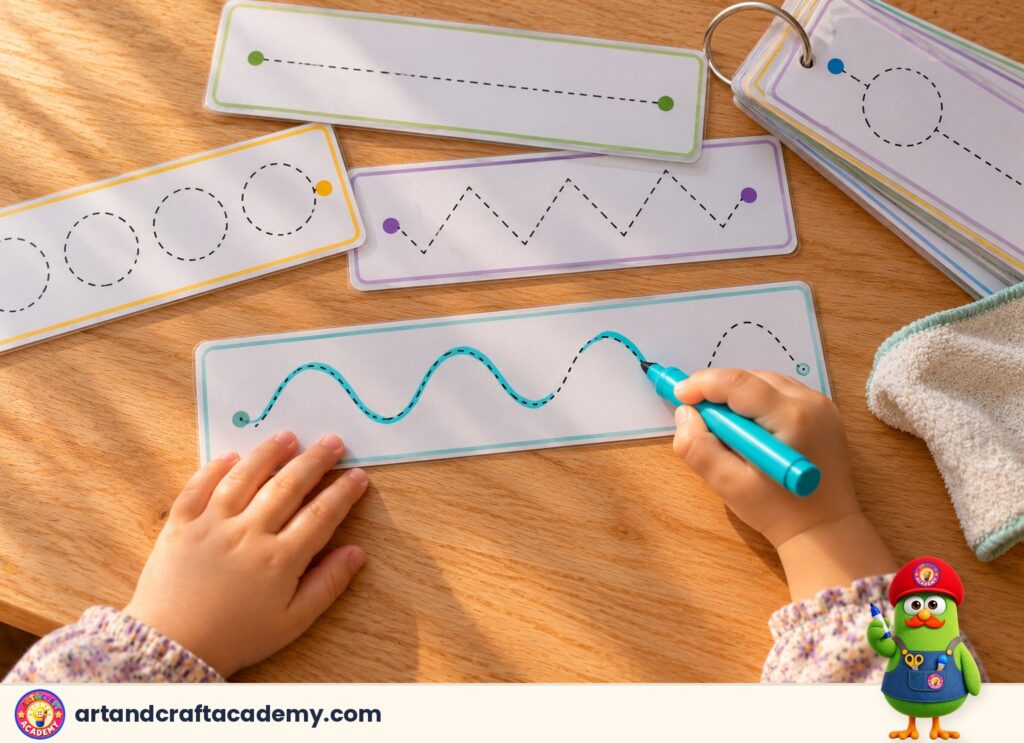
- From dots to a full line: your child traces a dotted line first, then completes half a shape, then draws it alone.
- Letters come last: once your child draws most shapes easily, letters become a natural next step.
Free printables from the Academy
We designed these files to follow the steps of this guide in order. Print them, laminate them or slip them into a plastic sleeve, and use a dry-erase marker so your child can write, wipe and try again:
- My First Tracing Strips: pre-writing practice · ages 3–6: start here at age 3: lines, curves and shapes in 3 levels, in the same order as the table above.
- ABC Tracing Cards A–Z: trace, wipe, try again · ages 3–6: once shapes are mastered: one card per letter, traced with arrows, then dots, then alone.
- Letters A–Z Write & Wipe Worksheets · ages 3–6: one sheet per letter with 4 activities: trace, say, find and write.
- Numbers 0–20 Write & Wipe Counting Worksheets · ages 3–6: trace and write each number, and count on a ten frame.
- ABC Game Cards: 78 cards, 4 ways to play · ages 3–7: learn letters through play, away from the pencil.
You’ll find more in all the Academy’s printables.
Small daily habits that make a difference
- Short or chunky crayons: a small piece of chalk or a broken crayon nudges the fingers into the right grip without a word from us.
- A comfortable seat: feet flat on the floor, back supported, table at elbow height.
- Short sessions: 5 to 10 minutes is enough for little ones, and we stop before the child gets bored. Two or three tracing strips are enough for one day.
- Praise the effort, not the result: “I noticed you finished the circle all the way round!” works better than “Pretty.”
- The dominant hand: we don’t try to change the hand your child prefers, left or right.
When to talk to a specialist
Different speeds are normal, but talk to an occupational therapist or your paediatrician if you notice more than one of these signs:
- After age 6 or 7, your child still holds the pencil in a whole-fist grip.
- They complain of pain or tire quickly in the hand when drawing or writing.
- They clearly avoid drawing and colouring, and get upset when asked.
- They find it very hard to copy shapes that most children their age can draw.
- They press so hard the paper tears, or so lightly the line barely shows.
These signs are not a diagnosis, but they are a good reason for a simple assessment that will reassure you and give you exercises suited to your child.
Frequently asked questions
At what age do children start learning to write?
Most children start writing letters between 5 and 6 years old, after they’ve mastered the basic shapes. Pre-writing skills, though, start from age 2 through play.
My child is 4 and doesn’t hold the pencil well. Is that a problem?
Usually not. At 4, many children hold the pencil with four fingers, and that’s normal. Focus on strengthening the hand with the activities above rather than correcting the grip every time.
Should I start with Arabic or English letters?
What matters most is mastering lines and shapes first, because they’re shared by both languages. After that, start with the language your child learns at school or hears most at home. If you start with English, our ABC tracing cards and ABC game cards will help.
How many minutes a day should my child practise?
10 to 15 minutes a day is enough for young children, split into two short activities. Practising a little every day matters far more than one long session a week.
Is writing on a tablet enough?
Not on its own. Writing on a screen needs no pressure and offers none of the resistance of paper, so it doesn’t build the hand muscles in the same way. Paper, play dough and beads are better at this stage.